Introduction
Installing a home security system is a crucial step towards ensuring the safety and protection of your home and loved ones. With the increasing accessibility and affordability of technology, setting up your own home security system has become easier than ever. In this beginner’s guide, I will walk you through the step-by-step process of installing a home security system, providing you with the knowledge and confidence to do it yourself.
Understanding the Basics
Before diving into the installation process, it is important to familiarize yourself with the basic components of a home security system. These typically include cameras, sensors, a control panel, and an alarm. Each component serves a specific purpose, such as detecting motions, activating alarms, and capturing video footage. Understanding how these components work together will help you make informed decisions when selecting the right equipment for your needs.
Planning and Preparation
Before proceeding with the installation, it is crucial to plan and prepare adequately. Start by conducting a thorough assessment of your home’s layout, identifying vulnerable areas and potential entry points. This will help you determine the number and placement of cameras and sensors required. Additionally, consider your budget, needs, and preferences when choosing the type and features of the security system.
Installation Process
Once you have planned and acquired the necessary equipment, it’s time to begin the installation process. Start by finding appropriate locations to install the cameras and sensors, ensuring optimal coverage of high-risk areas. Ensure that the control panel is placed in a central location, easily accessible for monitoring and control. Follow the manufacturer’s instructions carefully, making sure to test each component after installation to ensure proper functioning.
Integrating with Smart Home Technology
To enhance the security and convenience of your home, consider integrating your security system with smart home technology. This allows you to remotely monitor and control your security system through your smartphone or other connected devices. Additionally, you can automate tasks such as turning on lights or locking doors, further strengthening your home’s security.
By following these steps, you can successfully install your own home security system, providing you with peace of mind and a secure living environment. While the process may seem intimidating at first, remember that thorough planning, preparation, and careful execution are key to a successful installation. Take the time to educate yourself on the various options available and choose a system that suits your needs and budget. With the right equipment and knowledge, you can protect your home and loved ones with confidence.

1. Why Install a Home Security System
Installing a home security system is a crucial step in ensuring the safety and security of your home and loved ones. As crime rates continue to rise, it has become more important than ever to take proactive measures to protect our homes. In this section, I will discuss the importance of home security and the benefits of installing a home security system.
1.1. Importance of Home Security
Home security is essential for various reasons. Firstly, it provides peace of mind. Knowing that your home is protected by a security system can help alleviate worries and anxieties, allowing you to focus on other aspects of your life. Secondly, a home security system acts as a deterrent to potential burglars. Studies have shown that homes with visible security measures are less likely to be targeted by criminals. Additionally, a security system can also alert you and the authorities in the event of a break-in, giving you the opportunity to take immediate action.
1.2. Benefits of Home Security Systems
Installing a home security system offers numerous benefits. Firstly, it provides protection against burglaries and intruders. The mere presence of security cameras, alarms, and motion sensors can greatly reduce the likelihood of a break-in. Moreover, many modern security systems are equipped with advanced features such as remote monitoring, allowing you to keep an eye on your home even when you’re away. This feature is particularly beneficial for those who travel frequently or have vacation homes. Furthermore, a home security system can also enhance fire safety. Many systems come with smoke detectors and carbon monoxide detectors, which can help alert you to potential dangers and save lives.
the installation of a home security system is a wise investment for every homeowner. Not only does it provide the much-needed protection and deterrence against burglaries, but it also offers peace of mind and additional safety features. Taking the necessary steps to secure your home is essential in today’s world, and a home security system is an effective way to achieve just that.

2. Types of Home Security Systems
When it comes to protecting your home, there are several types of home security systems to choose from. In this section, I will go over the different types of systems and provide a brief overview of each one.
2.1. Wired Home Security Systems
Wired home security systems are the traditional choice for many homeowners. These systems require professional installation and involve running wires throughout your home to connect the various devices, such as sensors and cameras, to a central control panel. While they may require a higher upfront cost and more time to install, wired systems are known for their reliability and durability.
Wireless home security systems have gained popularity in recent years due to their ease of installation and flexibility. These systems use wireless technology to connect the various components, making them easier to install and customize. With wireless systems, you don’t have to worry about running cables throughout your home, which makes them a great option for renters or those who want to avoid the hassle of a wired system.
2.3. DIY Home Security Systems
For those who prefer a do-it-yourself approach, DIY home security systems are a great option. These systems typically come with all the necessary components, including sensors, cameras, and a control panel, and can be easily installed without the need for professional assistance. DIY systems are often wireless, making them even more convenient to set up and manage. They also allow for customization, allowing you to choose which areas of your home you want to monitor and what features you need.
Choosing the right type of home security system depends on your specific needs and preferences. Whether you opt for a wired, wireless, or DIY system, each type offers its own set of advantages. Take the time to consider your budget, installation requirements, and desired features before making a final decision. With the right system in place, you can have peace of mind knowing that your home is protected.

3. Assessing Your Security Needs
3.1 Evaluating Vulnerable Areas
When it comes to installing a home security system, it’s important to first assess the vulnerable areas of your home. This involves taking a step back and evaluating the potential entry points that intruders could target. Start by examining all doors and windows, including basement and garage entrances. Take note of any broken locks, flimsy frames, or vulnerable glass that may require reinforcement or replacement. Additionally, consider areas such as backyards, which may have hidden entry points or lack adequate lighting.
While assessing vulnerable areas, remember to think like a potential intruder. Consider points of weakness that could be exploited, such as dark corners, blind spots, or easily accessible areas. It’s also crucial to prioritize your evaluation based on the likelihood of threat. For instance, ground floor windows or doors that are concealed from view may represent a higher risk than upper-floor windows. By thoroughly evaluating these vulnerable areas, you can gain a clearer understanding of your security needs and develop an effective plan for installation.
3.2 Determining Coverage Requirements
Once you’ve identified the vulnerable areas of your home, the next step is to determine your coverage requirements. This involves considering the specific security features that would best suit your needs and provide optimal protection. Start by evaluating the size of your property, as this will help determine the number of security devices, such as cameras or motion sensors, needed to cover all areas adequately.
Consider the range and capabilities of the chosen devices to ensure they are compatible with your specific needs. For example, if you have a large backyard, using a camera with a wide field of view and night vision capabilities may be necessary. If you have multiple entry points, it may be beneficial to invest in a system that includes sensors for doors and windows.
Determining coverage requirements also extends to considering additional features that may enhance your security system. These could include remote monitoring capabilities, smartphone compatibility, or integration with existing home automation systems. By carefully assessing these requirements, you can ensure that the home security system you choose meets your needs and provides the peace of mind you desire.
By assessing your security needs and determining your coverage requirements, you are taking crucial steps towards installing an effective home security system. In the next section, I will guide you through the process of selecting the right system for you. Stay tuned!

4. Understanding the Components
4.1. Control Panel
The control panel is the brain of your home security system. It is where you can arm or disarm your system, as well as monitor its status. Typically, the control panel will have a keypad where you can enter your security code to access its features. Some advanced control panels even have touchscreen displays for easier navigation. Ensure that the control panel is placed in a central location in your home for convenient access.
4.2. Sensors (Door, Window, Motion)
Sensors play a critical role in detecting any unauthorized entry into your home. Door and window sensors are installed on entry points and will trigger an alarm if they detect a break-in. Motion sensors, on the other hand, detect movement within a designated area and can be placed strategically around your home. When installing sensors, make sure they are securely mounted and aligned properly for accurate detection.
4.3. Cameras
Security cameras provide an extra layer of protection and allow you to monitor your home remotely. They can deter potential burglars and capture valuable footage in case of any incidents. When installing cameras, consider areas that are vulnerable to break-ins, such as your front and back doors, garage, or patio. Ensure they are positioned at a height and angle that provides optimal coverage. It’s also important to connect your cameras to a network video recorder (NVR) for storage and easy access to the footage.
4.4. Alarms and Sirens
Alarms and sirens are essential components of a home security system as they alert you and others of a possible security breach. There are various types of alarms, including loud sirens, strobe lights, or even automated phone calls to your designated emergency contacts. Install alarms and sirens in prominent locations to ensure their effectiveness. Some systems also allow you to customize different alarm sounds for different scenarios, such as intrusions or fire emergencies.
Understanding the different components of a home security system is crucial in effectively installing and configuring your system. The control panel, sensors, cameras, and alarms all work together to provide comprehensive protection for your home. By carefully considering their placement and functionality, you can enhance the security of your home and gain peace of mind. So, let’s get started and turn your house into a fortress!
5. Planning the Installation
5.1. Mapping Out Placement
Before embarking on the installation process, it is crucial to carefully plan where you want to place your home security system components. Take a stroll around your property and identify the areas that require the most protection. Consider potential entry points such as windows, doors, and any other vulnerable spots. By visually mapping out these areas, you can then determine the optimal locations for your security cameras, sensors, and control panel.
5.2. Choosing the Right Equipment
For a beginner, selecting the right equipment might seem like a daunting task. But fear not! Assess your security goals and determine which components are essential for your needs. Do you require outdoor cameras to monitor your yard? What about motion sensors for your front entrance? Make a list of the necessary equipment, ensuring they are compatible with one another and can be seamlessly integrated into your chosen home security system.
5.3. Calculating Budget and Resources
Now, let’s get down to the nitty-gritty: budget and resources. Take into account the financial aspect of your home security system installation. Research and compare prices of different brands and models to find the best value for your money. Additionally, consider the resources required for the installation process. Will you need additional tools or assistance? Keep these factors in mind as you calculate and allocate your budget and resources accordingly.
By taking the time to plan your home security system installation, you are setting yourself up for success. Mapping out the placement of your components, choosing the appropriate equipment, and calculating your budget and resources will ensure a smooth and efficient installation process. Remember, the key is to prioritize your home’s security needs and to invest in reliable equipment that aligns with your budget. So, let’s get started on your journey to a safer and more secure home!
6. Preparing for Installation
6.1. Gathering Tools and Materials
Before starting the installation process, it is important to gather all the necessary tools and materials. First and foremost, you will need a basic toolkit, including a screwdriver, pliers, wire cutters, and a drill. Additionally, it is essential to have the proper cables, wires, connectors, and fasteners to ensure a secure installation. Most home security system kits come with a list of required tools and materials, so it is advisable to check the contents thoroughly before proceeding.
6.2. Ensuring Proper Power Supply
One crucial aspect of installing a home security system is ensuring a proper power supply. Most systems require a power outlet nearby or a steady power source, such as a battery or solar panel. It is important to identify the best location for the control panel, as it should be easily accessible and close to a power source. In some cases, installing a power outlet near the panel may be necessary. It is also important to consider power backups, such as an uninterruptible power supply (UPS) or a backup battery, to ensure continued functionality in case of a power outage.
By taking the time to gather the necessary tools and materials and ensuring a proper power supply, you are setting yourself up for a successful and efficient installation process. Now that you are fully prepared, it’s time to move on to the next step: installing the various components of your home security system. Stay tuned for the next section, where I will guide you through the process of installing sensors, cameras, and other essential elements of your home security setup.

7. Installing the Control Panel
7.1. Finding an Ideal Location
When it comes to installing the control panel of your home security system, finding the perfect location is crucial. You want to choose a spot that is easily accessible, yet inconspicuous. This can be near the main entrance or in a central location within your home. Personally, I found it convenient to place my control panel near the front door, as it allows easy access when entering or exiting my house.
However, keep in mind that you’ll want to avoid placing it in plain sight, as this can make your system an easy target for potential intruders. Look for areas that are hidden from view, but still easily reachable for monitoring and arming/disarming purposes.
7.2. Mounting and Connecting
Once you have identified the ideal location for your control panel, it’s time to mount it securely. Most control panels come with pre-drilled holes for easy installation. Personally, I used a level to ensure that it was mounted perfectly straight.
Next, you’ll need to connect your control panel to a power source and the main phone line. Make sure to follow the manufacturer’s instructions carefully to ensure a proper connection. For powering the control panel, you may need to use a nearby electrical outlet or, alternatively, consider using a backup battery for added protection during power outages.
When it comes to connecting your control panel to the main phone line, it’s important to check with your service provider for compatibility. Some modern systems utilize cellular connections instead of traditional landlines, offering increased reliability and security.
By following these steps, you’ll be able to successfully install your control panel as part of your home security system. In the next section, we will discuss the importance of choosing the right sensors for your specific needs.
8. Setting Up Sensors
Now that you have made your way through the previous steps of installing a home security system, it’s time to set up the sensors. These crucial components will help detect any unauthorized entry or movement within your home, providing you with the peace of mind you deserve.
8.1. Installing Door and Window Sensors
Door and window sensors are the first line of defense for your home security system. These small devices are typically composed of two parts: a sensor and a magnet. The sensor is installed on the door or window frame, while the magnet is placed on the actual door or window. When the two parts separate, such as when the door or window is opened, the sensor triggers an alert.
To install these sensors, start by identifying the ideal location for each one. Ensure that they are within range of your security system’s control panel. Next, clean the intended mounting areas thoroughly to ensure proper adhesion. Peel off the backing from the adhesive tape on the sensor and magnet, and affix them to the desired locations. Make sure that the sensor and magnet align properly when the door or window is closed.
8.2. Positioning Motion Sensors
Motion sensors are crucial for detecting any movement within your home, especially in areas where there should be no activity. These sensors work by detecting changes in infrared energy levels caused by the movement of warm objects, such as humans.
When positioning motion sensors, it is essential to choose locations that cover a wide area and are free from obstructions. Consider mounting the sensors in corners of rooms, as this allows for greater coverage. Aim the sensors slightly downwards to minimize the chance of false detections caused by small pets. Lastly, ensure that the sensors are out of direct sunlight, as this can interfere with their functionality.
8.3. Testing Sensor Functionality
Before finalizing the installation of your home security system, it is crucial to test the functionality of each sensor. Begin by arming your system in the monitoring mode and carefully inspecting each sensor. Open and close doors and windows to verify that the sensor triggers the appropriate alert. Walk through the monitored areas to ensure that motion sensors are detecting movement accurately.
By taking the time to properly set up and test your sensors, you can ensure that your home security system will effectively protect your home and loved ones. Now that you have completed the installation process, you can enjoy the benefits of a safer and more secure home environment.
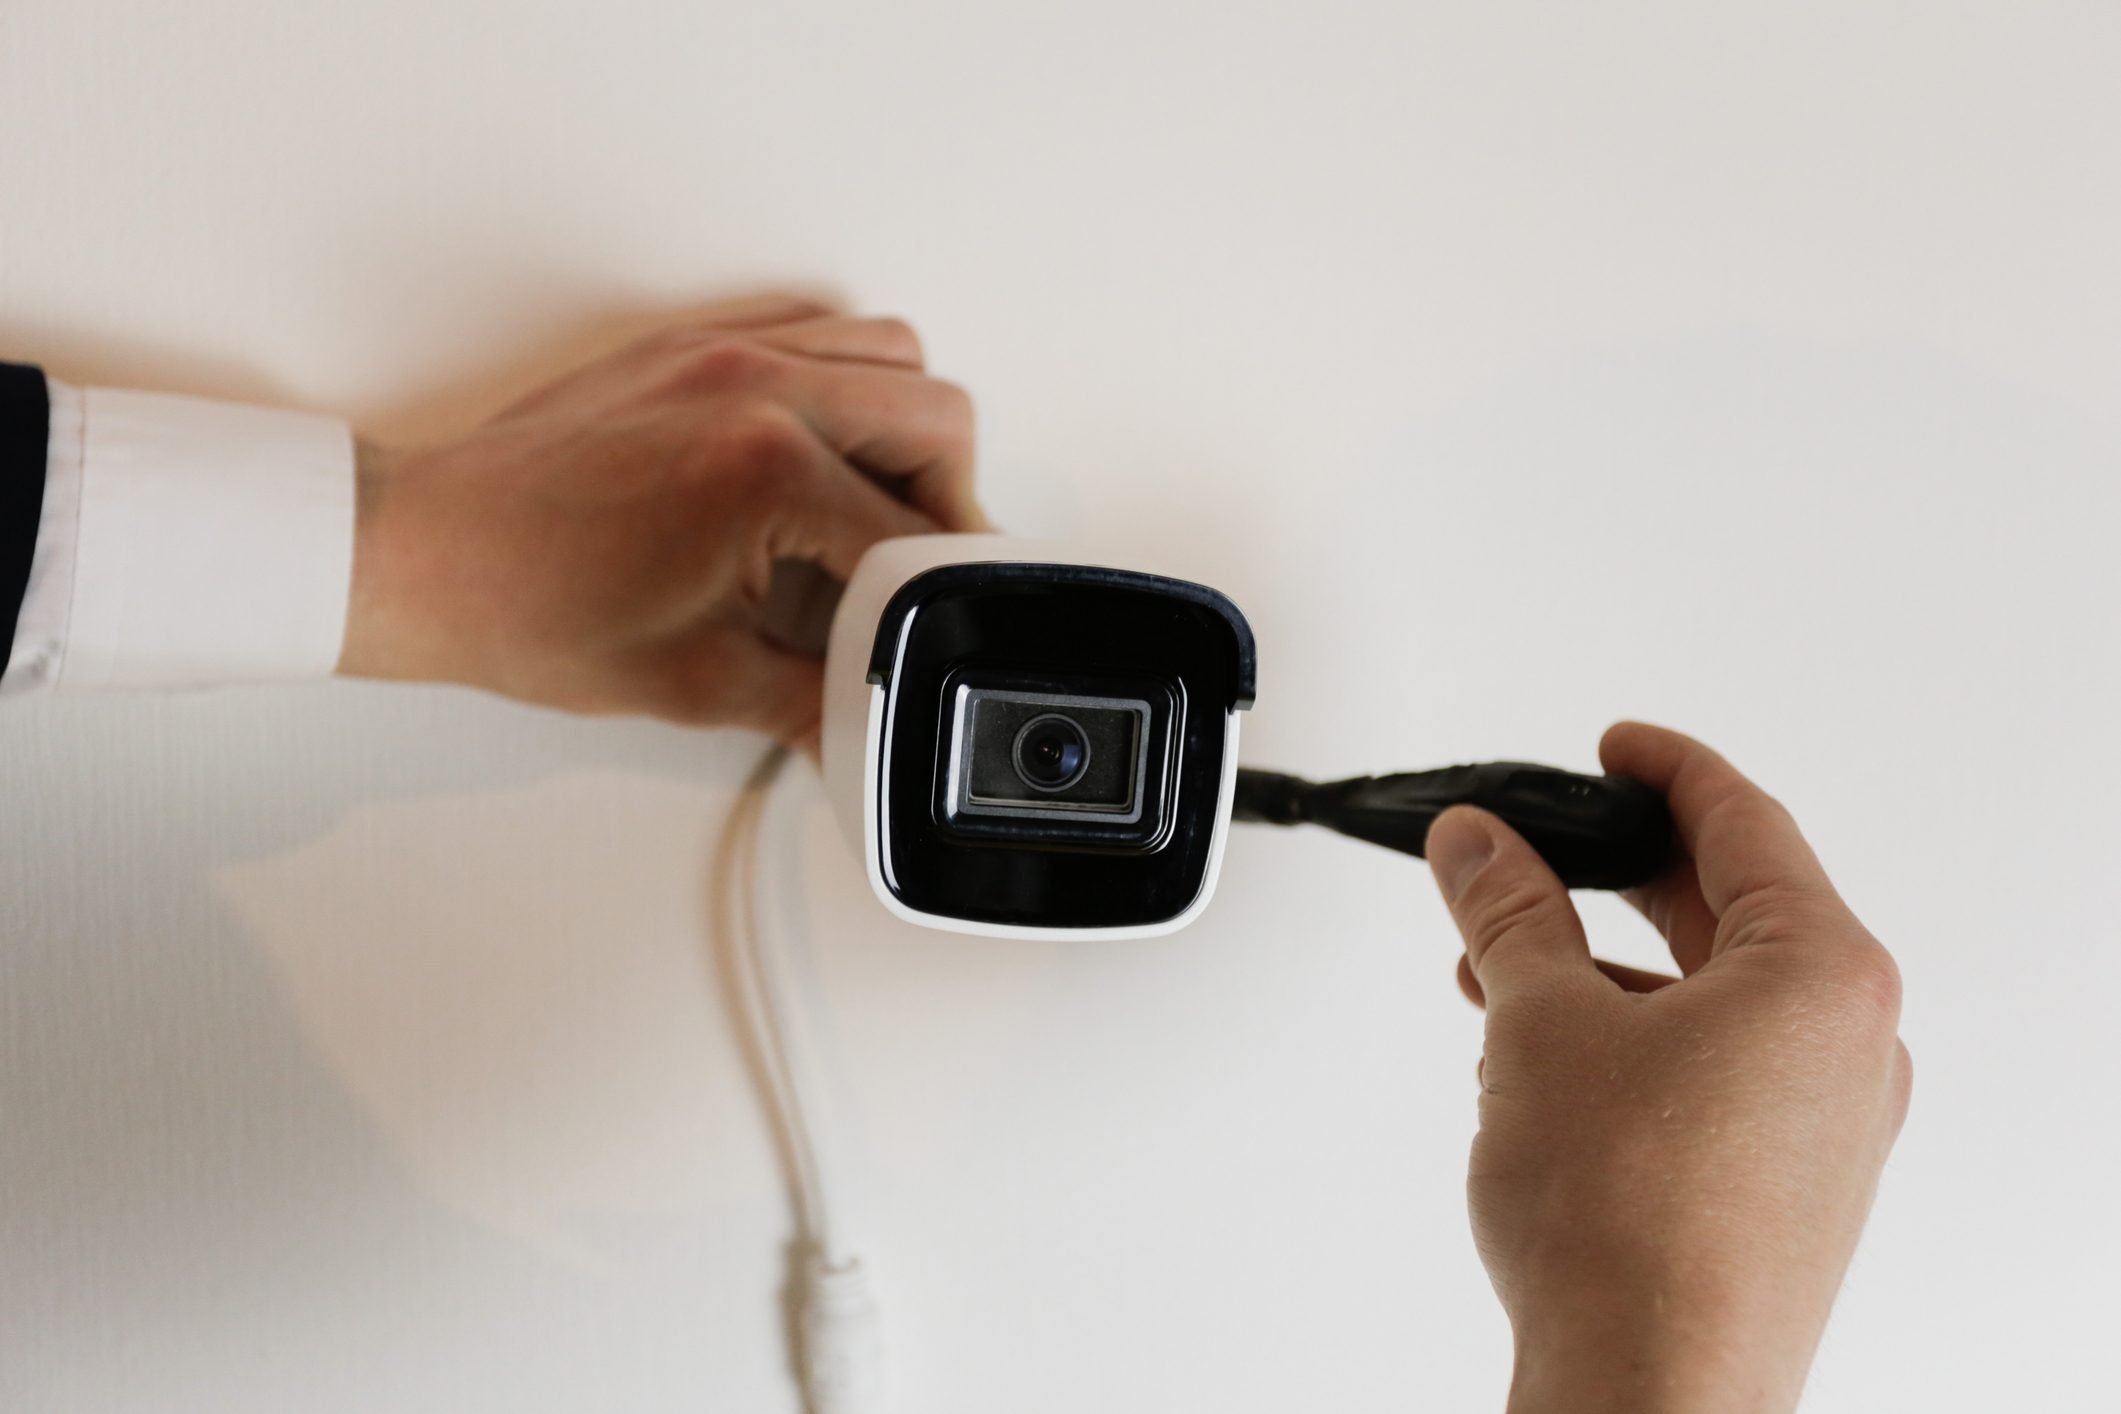
Installing Security Cameras
9.1 Choosing Camera Locations
Installing security cameras is a crucial step in securing your home. Proper placement of these cameras is essential to ensure maximum coverage and effectiveness. When deciding on camera locations, you need to consider the vulnerable areas of your property, such as entry points and blind spots. Additionally, think about areas that may be valuable or attractive to potential intruders.
Start by surveying your home and identifying strategic positions where cameras can monitor these areas effectively. This may include front and back doors, windows, driveways, and backyards. Consider the camera’s field of view and range to determine the ideal placement for optimal coverage.
9.2 Mounting and Connecting Cameras
Once you’ve chosen the locations for your security cameras, it’s time to mount and connect them. Before mounting, make sure to follow the manufacturer’s instructions carefully. Typically, cameras are mounted using screws and brackets. Ensure that they are securely fastened, providing a stable and unobstructed view.
Next, connect the cameras to your recording device or receiver using the appropriate cables. If your system is wireless, follow the instructions to pair the cameras with the receiver or central monitoring station. Test each camera after installation to confirm that they are functioning correctly and capturing clear footage.
9.3 Configuring Camera Settings
After mounting and connecting the cameras, take the time to configure the camera settings. This includes adjusting the camera’s field of view, resolution, and motion detection sensitivity. Most security systems have user-friendly interfaces that allow you to customize these settings easily.
Consider setting up alerts and notifications that can be sent to your phone or email when the cameras detect motion. This way, you can monitor your property even when you’re away. Additionally, explore the available options for recording and storing footage. You may choose to save the footage locally on a hard drive or opt for cloud-based storage for added convenience.
Installing security cameras may seem daunting at first, but by following these steps and considering important factors, you can enhance the safety and security of your home.
10. Connecting Alarms and Sirens
Now that we have installed the control panel and sensors, it’s time to connect the alarms and sirens to complete our home security system. This step is crucial as it ensures that any intruder will be deterred by the loud noise generated by the alarms.
10.1. Wiring Alarms to Control Panel
First, I will start by connecting the alarms to the control panel. To do this, I will locate the alarm terminals on the control panel and the corresponding terminals on the alarms. Using the provided wires, I will connect the positive (+) terminal of the alarm to the positive (+) terminal on the control panel and the negative (-) terminal of the alarm to the negative (-) terminal on the control panel. This will ensure a proper circuit connection.
Once all the alarms have been wired to the control panel, I will carefully test each connection by triggering the alarm system. This will validate that the alarms are functioning correctly and are properly connected to the control panel. If any alarms fail to sound, I will double-check the wiring connections and make any necessary adjustments.
10.2. Testing Alarm Functionality
After connecting the alarms, it is crucial to test their functionality. I will arm the system and then trigger the sensors to check if the alarms are activated promptly. I will walk around the house, testing each sensor individually, to ensure that the alarms sound as expected. Additionally, I will verify that the alarms are loud enough to be heard throughout the house and potentially alert neighbors.
Remember, it is always a good idea to periodically test your home security system to ensure its effectiveness. This will allow you to identify any issues or malfunctions and address them promptly.
By following these steps and connecting the alarms and sirens properly, we have completed the installation of our home security system. With this system in place, I feel much safer knowing that my home is protected against potential intruders. Stay tuned for more useful insights in our beginner’s guide to installing a home security system.
Read Next: 11. Finalizing and Maintaining Your Home Security System
Conclusion
Installing a home security system may seem like a daunting task, but with the right information and guidance, it is something that you can easily do yourself. In this guide, I have provided you with a step-by-step process to help you get started.
Choose the Right System
Selecting the right home security system is essential. Take the time to research different options and determine your specific needs. Consider the size of your home, your budget, and the features that are most important to you. This will ensure that you find a system that meets your requirements.
Install the System Components
Once you have chosen your home security system, it is time to install the components. Start by positioning the control panel in a central location that is easily accessible. Then, proceed to install the various sensors and detectors throughout your home. Follow the manufacturer’s instructions carefully to ensure proper installation.
Configure and Test the System
After the installation is complete, you will need to configure the system. This involves setting up passwords, codes, and activating any additional features. Once this is done, it is important to test the system to ensure that everything is functioning correctly. This includes testing the sensors, alarms, and connectivity.
Set Up Monitoring
Lastly, consider setting up a monitoring service for your home security system. This will provide an added layer of protection, as professionals will be alerted in the event of an emergency. Research different monitoring options and choose the one that best fits your needs and budget.
By following these steps, you can successfully install a home security system and provide yourself with the peace of mind that comes with knowing your home is protected. Remember to regularly test and maintain your system to ensure its efficiency. Stay safe!